Creating a Google Analytics account and integrating it with your Wordpress site is so easy, it needs almost no explanation. Here’s how to get it done in 3 painless steps:
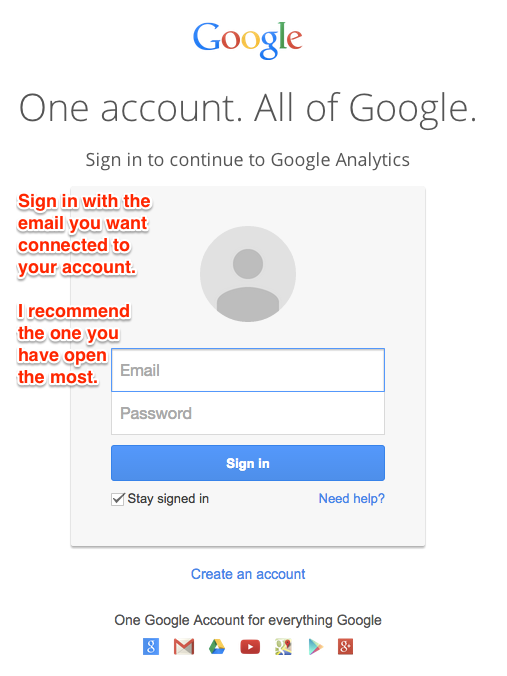
1. Sign up for your account at google.com/analytics.

Sign up for Google Analytics with your Google email account (or create a Google account if you don’t have one already). If you’re like me and you have several Google-related email accounts, choose the one you have open the most. (Don’t stress about choosing – you can always attach another email account later.)
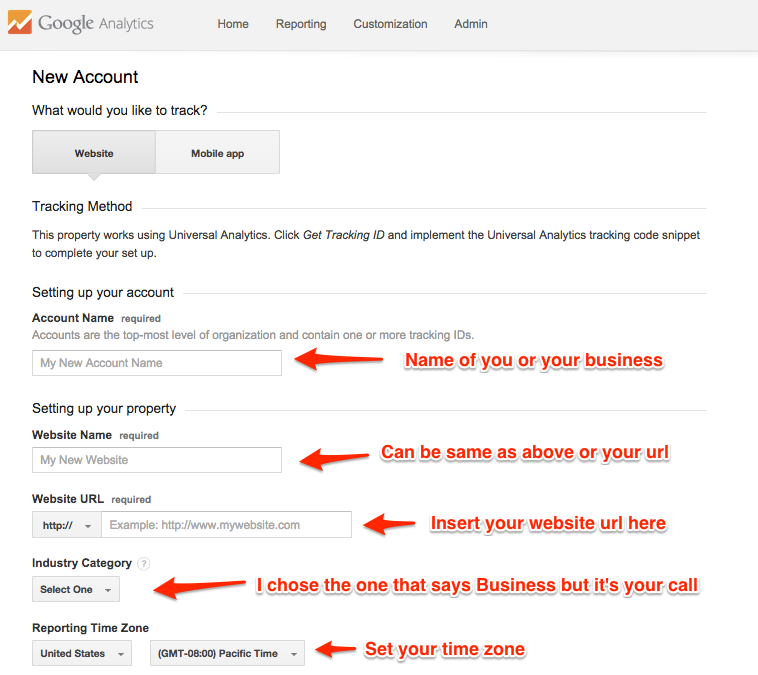
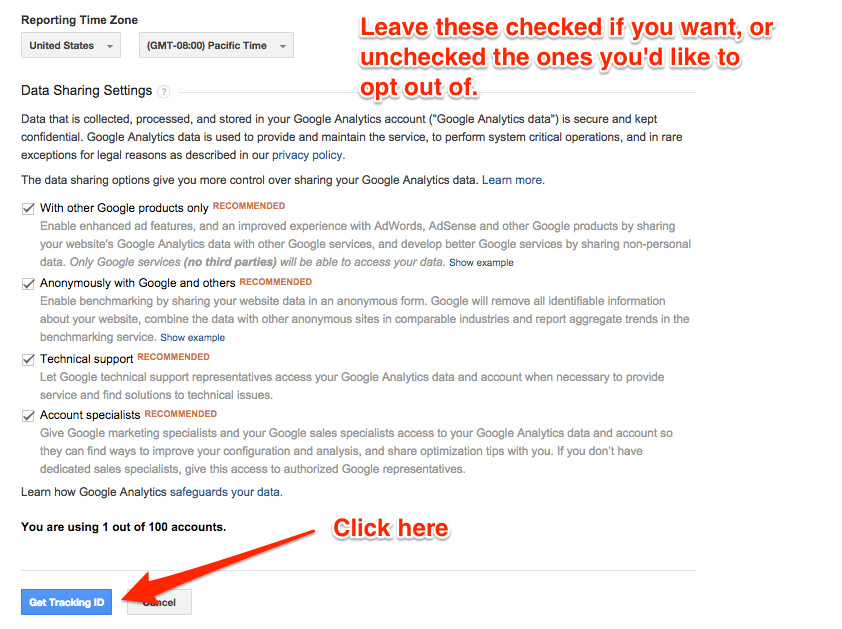
Fill in the following information:
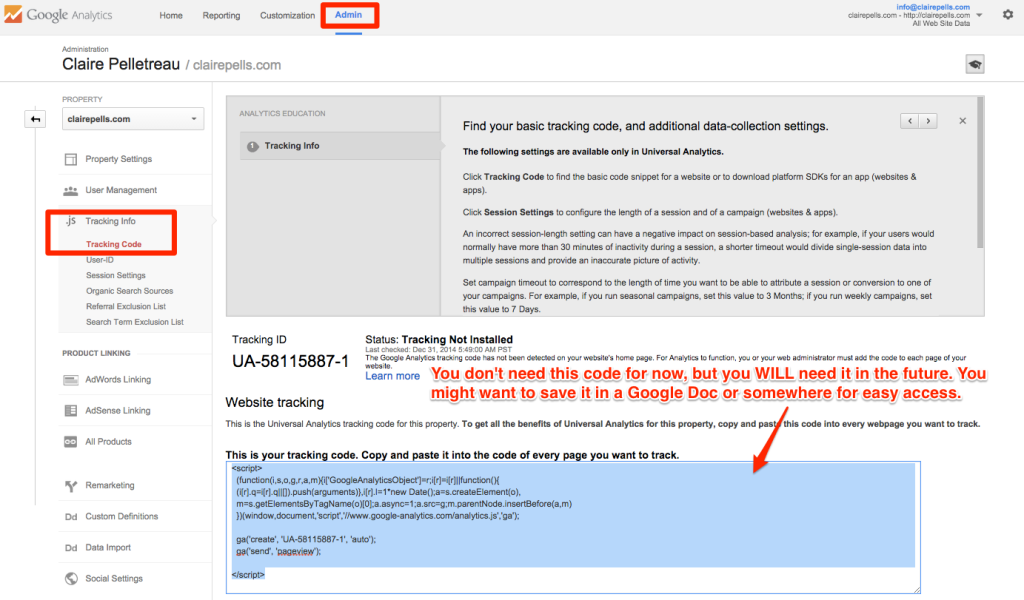
After you click Get Tracking ID and accept Google’s terms, you’ll be sent to this page. You don’t need to do anything here but I wanted you to see where you can find this code again in the future. You will almost definitely need to use it again.
2. Go to your WordPress dashboard and install the free plugin Yoast Google Analytics.
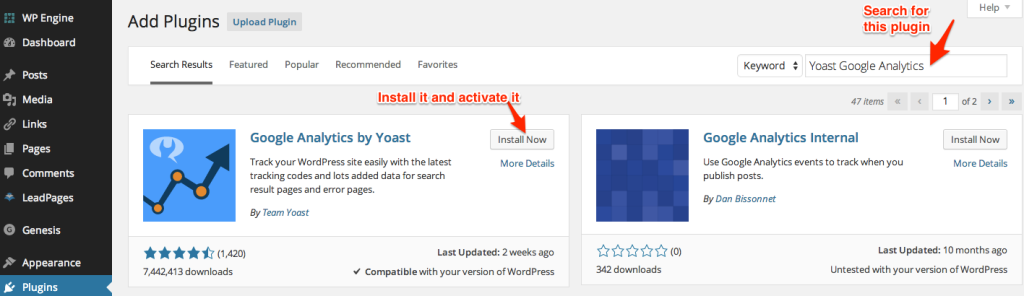
After you install and activate the plugin, head over to the Settings page.

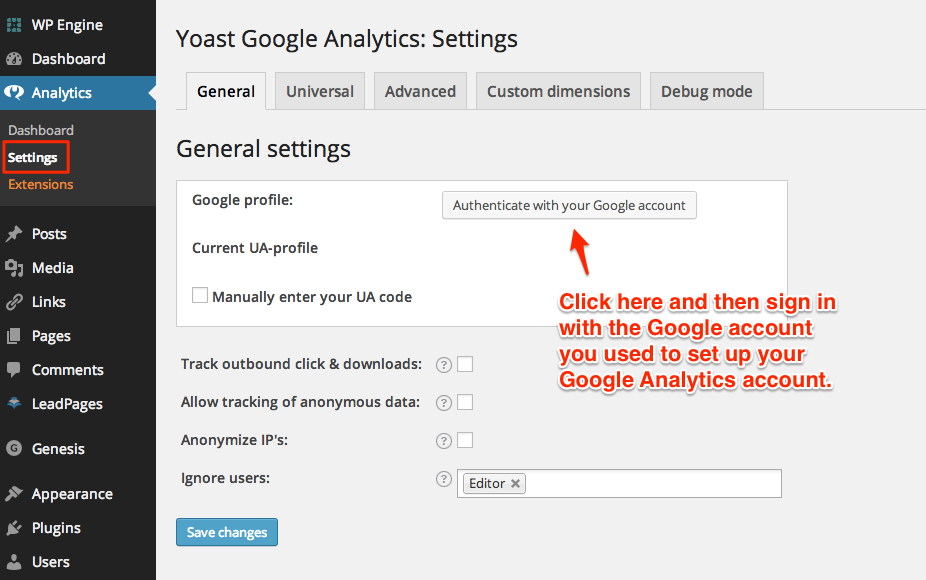
3. Connect your Google Analytics account to the plugin under Settings.
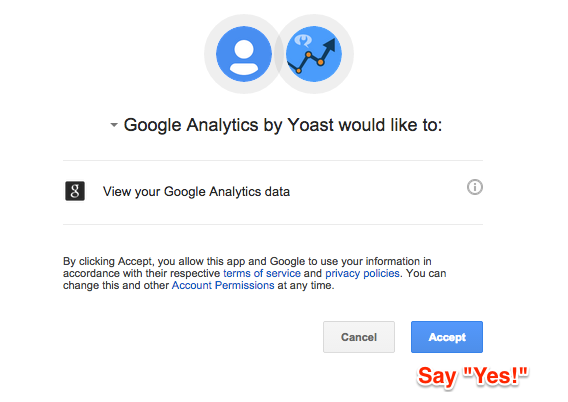
You’ve probably seen this kind of page before when you connect your Google account to other apps. Click “Accept.”
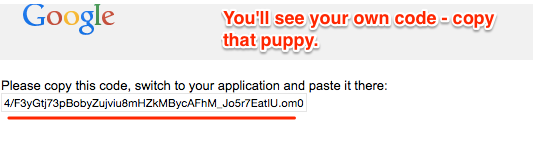
After you accept, you’ll see this message with a long line of code. Copy this code and go back to your Wordpress dashboard:
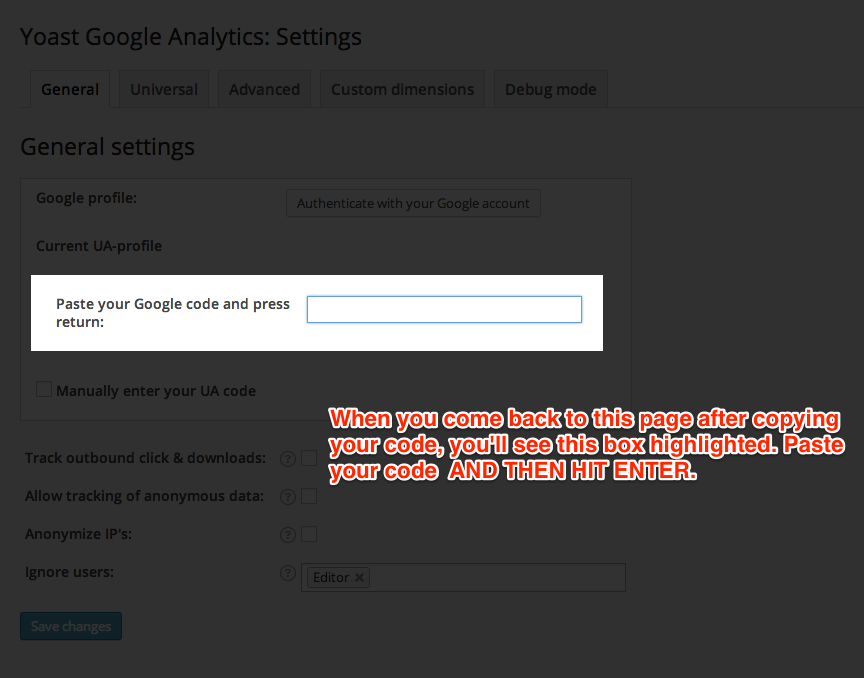
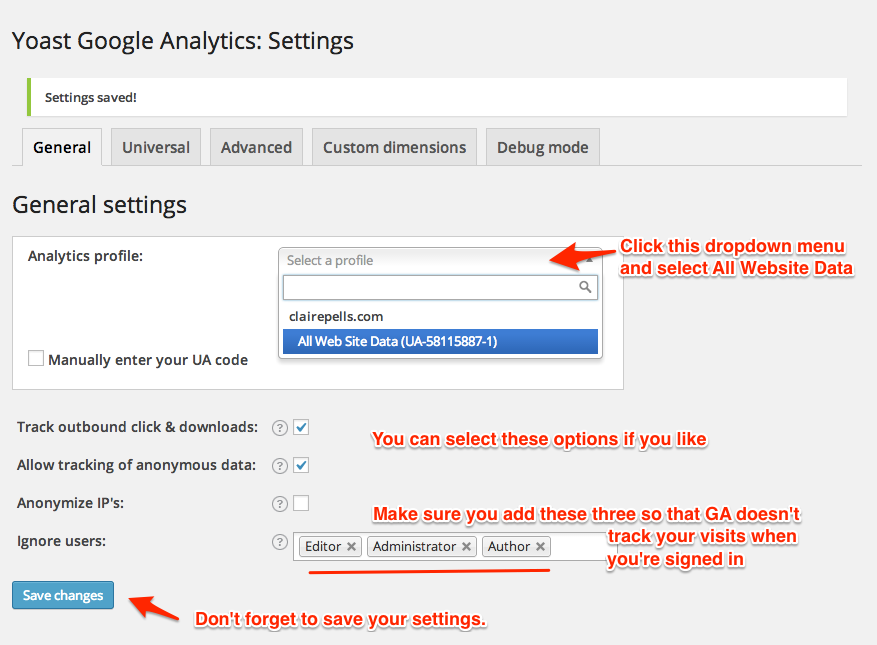
Insert these final settings and click “Save Changes.”
And that’s it! Even I’m surprised by how simple Yoast has made this process with their free plugin.
Important note: you will need to manually add your Google Analytics code to any page you create that’s not a normal WordPress page or post. That means pages created with Leadpages, Premise, a custom-designed static page or other landing/sales page software. It’s annoying, I know, and probably something that those companies will eventually fix within their software. But I tell you now because I don’t want you to find yourself in the situation of having created a webinar landing page, driven traffic there using paid and organic methods, only to have no data about that traffic because you forgot to add your GA code to the backend.
You’ve been warned. Make sure to include “Add Google Analytics code” to whatever checklist you use before launching a new offering, paid or otherwise.
(Actually there’s a really in-depth checklist that I created over on Anne Samoilov’s blog. It might be something you’ll want to bookmark if you’re trying to get serious about tracking stuff for your launches.)
The Next Step – This One Is Mandatory
Now that you’ve got Google Analytics tracking your traffic, you need to set up at least one Goal. Goals in Google Analytics means conversions: sign-ups to your list and purchases of your products. Get step-by-step instructions on how to set up Goals in Google Analytics here, plus a simple system for reading your results you can put in place starting today.
What about you?
You’ve just gotten started with Google Analytics (yay!) but you may already have some way that you’ve been measuring your success so far. How do you know what’s been working (or what hasn’t worked so well) in your business up to now? Do you judge based on revenue? Or comments on your blog posts? Or activity on social networks?
I’d love to get a sneak peak at how you’ve been grading yourself so far. Let me know what your barometer for success has been by leaving a comment below or shooting me a quick email at info@clairepells.com!


Hi Claire! This was incredibly helpful! I am however, stuck on the last step!!! The last screenshot you have doesn’t match mine :(
You have a drop down menu to be able to “select All Website Data”. Mine still shows the “Authenticate with your Google Account” button. What am I missing? HELP!
Hmm, not sure why it wouldn’t be authenticated. What about the previous screenshot to that one? Is it currently filled with your GA code?
I got it figured out Claire! Thank you so much for your help!
So glad to hear it!